Exquisite Buttonbands: The Holy Grail
Do you, like me, enjoy knitting cardigans but have difficulty finding the perfect button band? Picked up bands knit in a single thickness so often droop despondently at the front of what might otherwise be a beautifully knit sweater and it seems a pity to let that be the first thing someone notices about the project of which you are naturally so proud.
If you are a devotee of fine finishing, I highly recommend purchasing Lucy Neatby’s DVD Finesse Your Knitting 2. The video includes many lovely techniques but I particularly like her explanation of how to combat the dreaded droopy bands by employing a double layer stocking stitch band made from stitches picked up around the finished cardigan. Lucy gives plenty of helpful tips on picking up the stitches in the proper proportion and shaping within the band but most importantly she also presents the perfect buttonhole to match the band. Essentially, she creates a buttonhole in each layer of fabric and the finishes them by grafting them together. It truly is magical and so is the ease with which she explains it. A tutorial on The Magic Buttonhole is also available in a print version.
Although I am monumentally impressed by Lucy’s techniques I am have not as yet employed it (mainly due to pig-headed desire to find my own solution). What follows are examples of three methods I have personally employed. Like all techniques, it’s best to match the band to the specific project for the best results.
Slip Stitch Double Stockinette Band:
This method is outlined in Katarina Buss’s Big Book of Knitting if you would like to see illustrations.
This first example is an old, established technique and yet I don’t seem to have come across it in many patterns of late. Essentially it involves casting on two lengths of extra stitches to the cardigan front, one of which will act as the band, the other as the facing. These two lengths of stitches are separated by a slip stitch that acts as a fold line.
In this example the finished band width is 5 stitches and we are working on the right front of a cardigan. You will use the same size needles as your cardigan body for the band.
If your finished band will be 5 sts wide, you will need to add a total of 12 sts to the cardigan front. The band will be 5 sts long followed by a single slip stitch, followed by 5 more stitches to act as the band facing and 1 more stitch to act as a selvedge for sewing down the facing. It is also important to work a column of reverse stockinette stitch between the cardigan front and the band stitches. This single purl stitch will be nearly invisible on the front of the sweater but will facilitate the smooth seaming of the facing on the inside of the cardigan.
The slip stitch will either be slipped purlwise on right side rows and purled on wrong side row or knit on the right side rows and slipped purlwise on the wrong side. Here’s a little short hand of the set up if you are knitting the Right Front of the cardigan.
Body Stitches |p| k k k k k |slip st| k k k k k k <–
Simply establish this pattern at the beginning of the cardigan and knit the band along with the front piece. When I get to the neck bind offs, I like to fold the facing stitches to the inside and knit them together with the front band stitches as I bind off to make a neat, stable end to the band. The neck band stitches can then be picked up from this row.
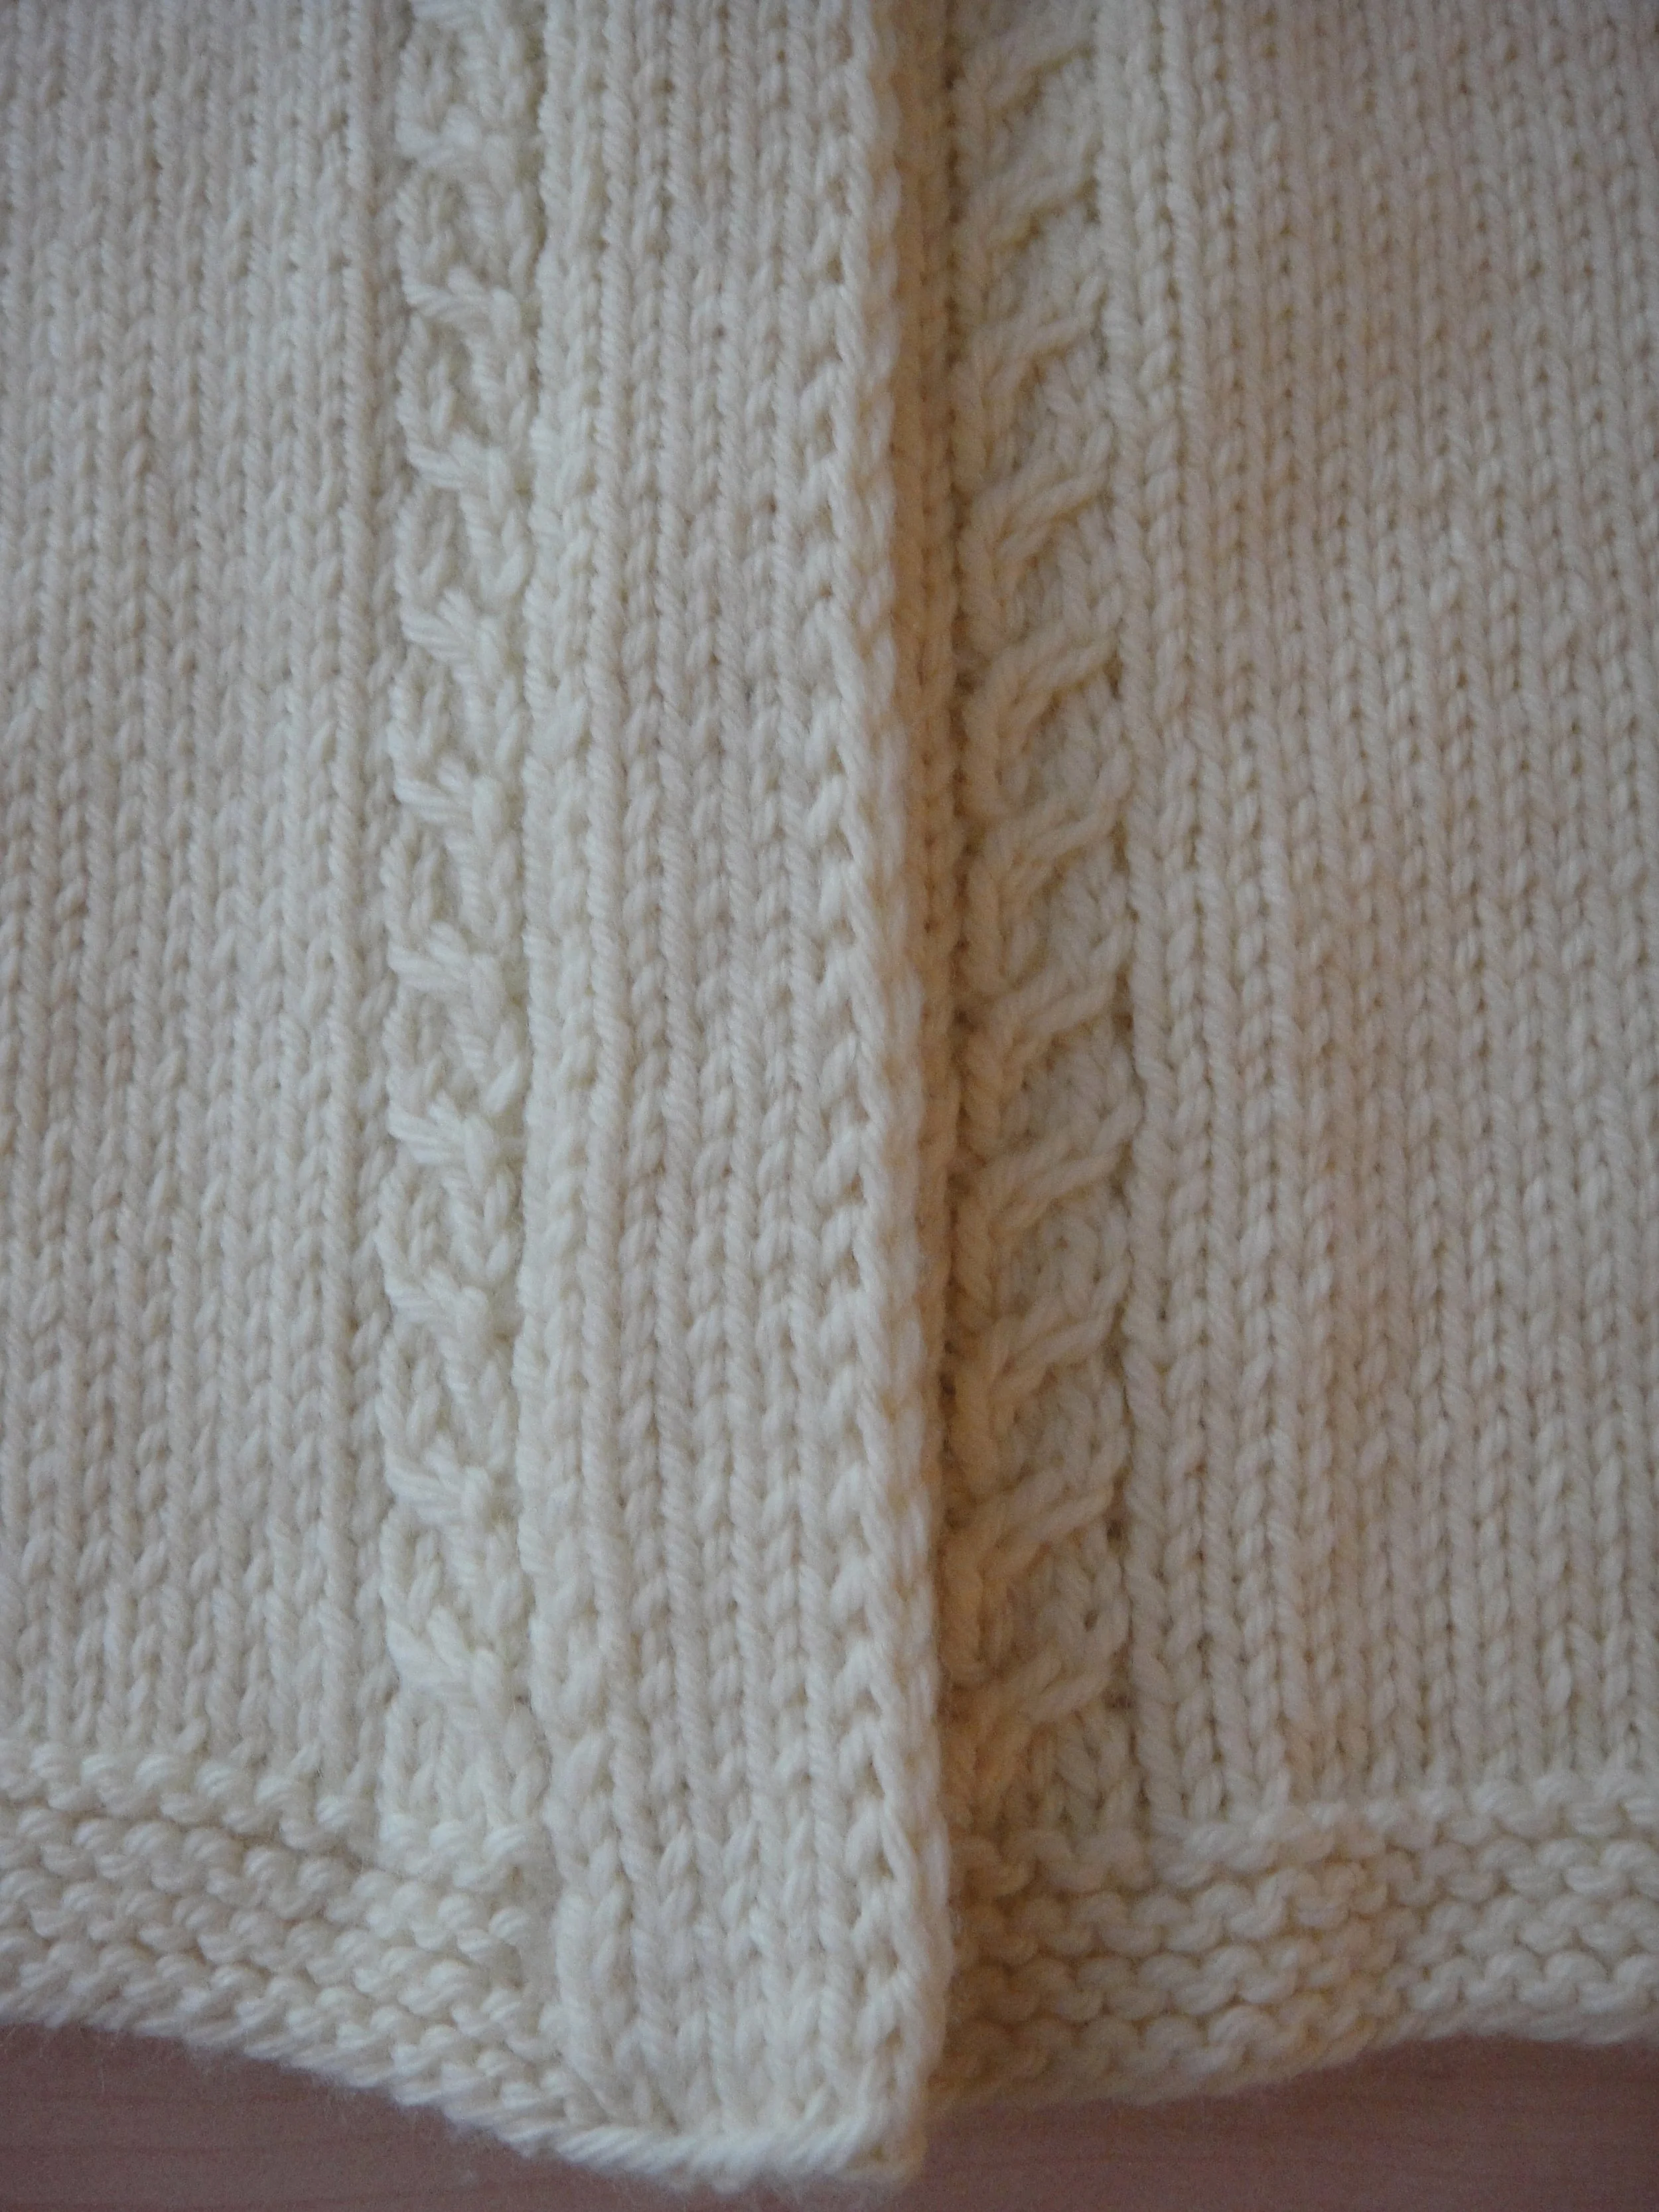
Now for the magical part, the seaming. But how can seaming be magical, you ask. Well, remember that purl stitch we made on the body before the band? When you look on the wrong side of the sweater front, you will see a lovely line of knit stitches next to your band. Sewing from side to side and alternating from left to right and right to left, sew the leg of the knit stitch closest to the body to the leg of the band stitch next to the band selvedge stitch that is closest to the band edge. This is obviously best pictured with your knitting in hand but trust me, if you sew down the facing this way, lo and behold the seam will literally melt into the other stitches and be completely invisible. The row of reverse stockinette you made will serve as an infallible guide for seaming so you don’t ever have to wonder where you plunge your needle and this makes the sewing process so easy that I believe even knitter’s who think sewing is anathema to the craft might change their minds. The result is a thick, sturdy double stockinette band on the front of the cardigan and a neat finish on the inside.
But let’s remember, we have only made the buttonband at this point. What about buttonholes in this type of band? Since you will be making two separate layers of fabric for the band, you will have to create a buttonhole in each layer and then join them together with some sort of finish. This is obviously an ideal location for Lucy Neatby’s Magic buttonhole. Another option would be to work the buttonhole of your choice and then join the two together with buttonhole stitch and perhaps embroidery thread once the band is complete.
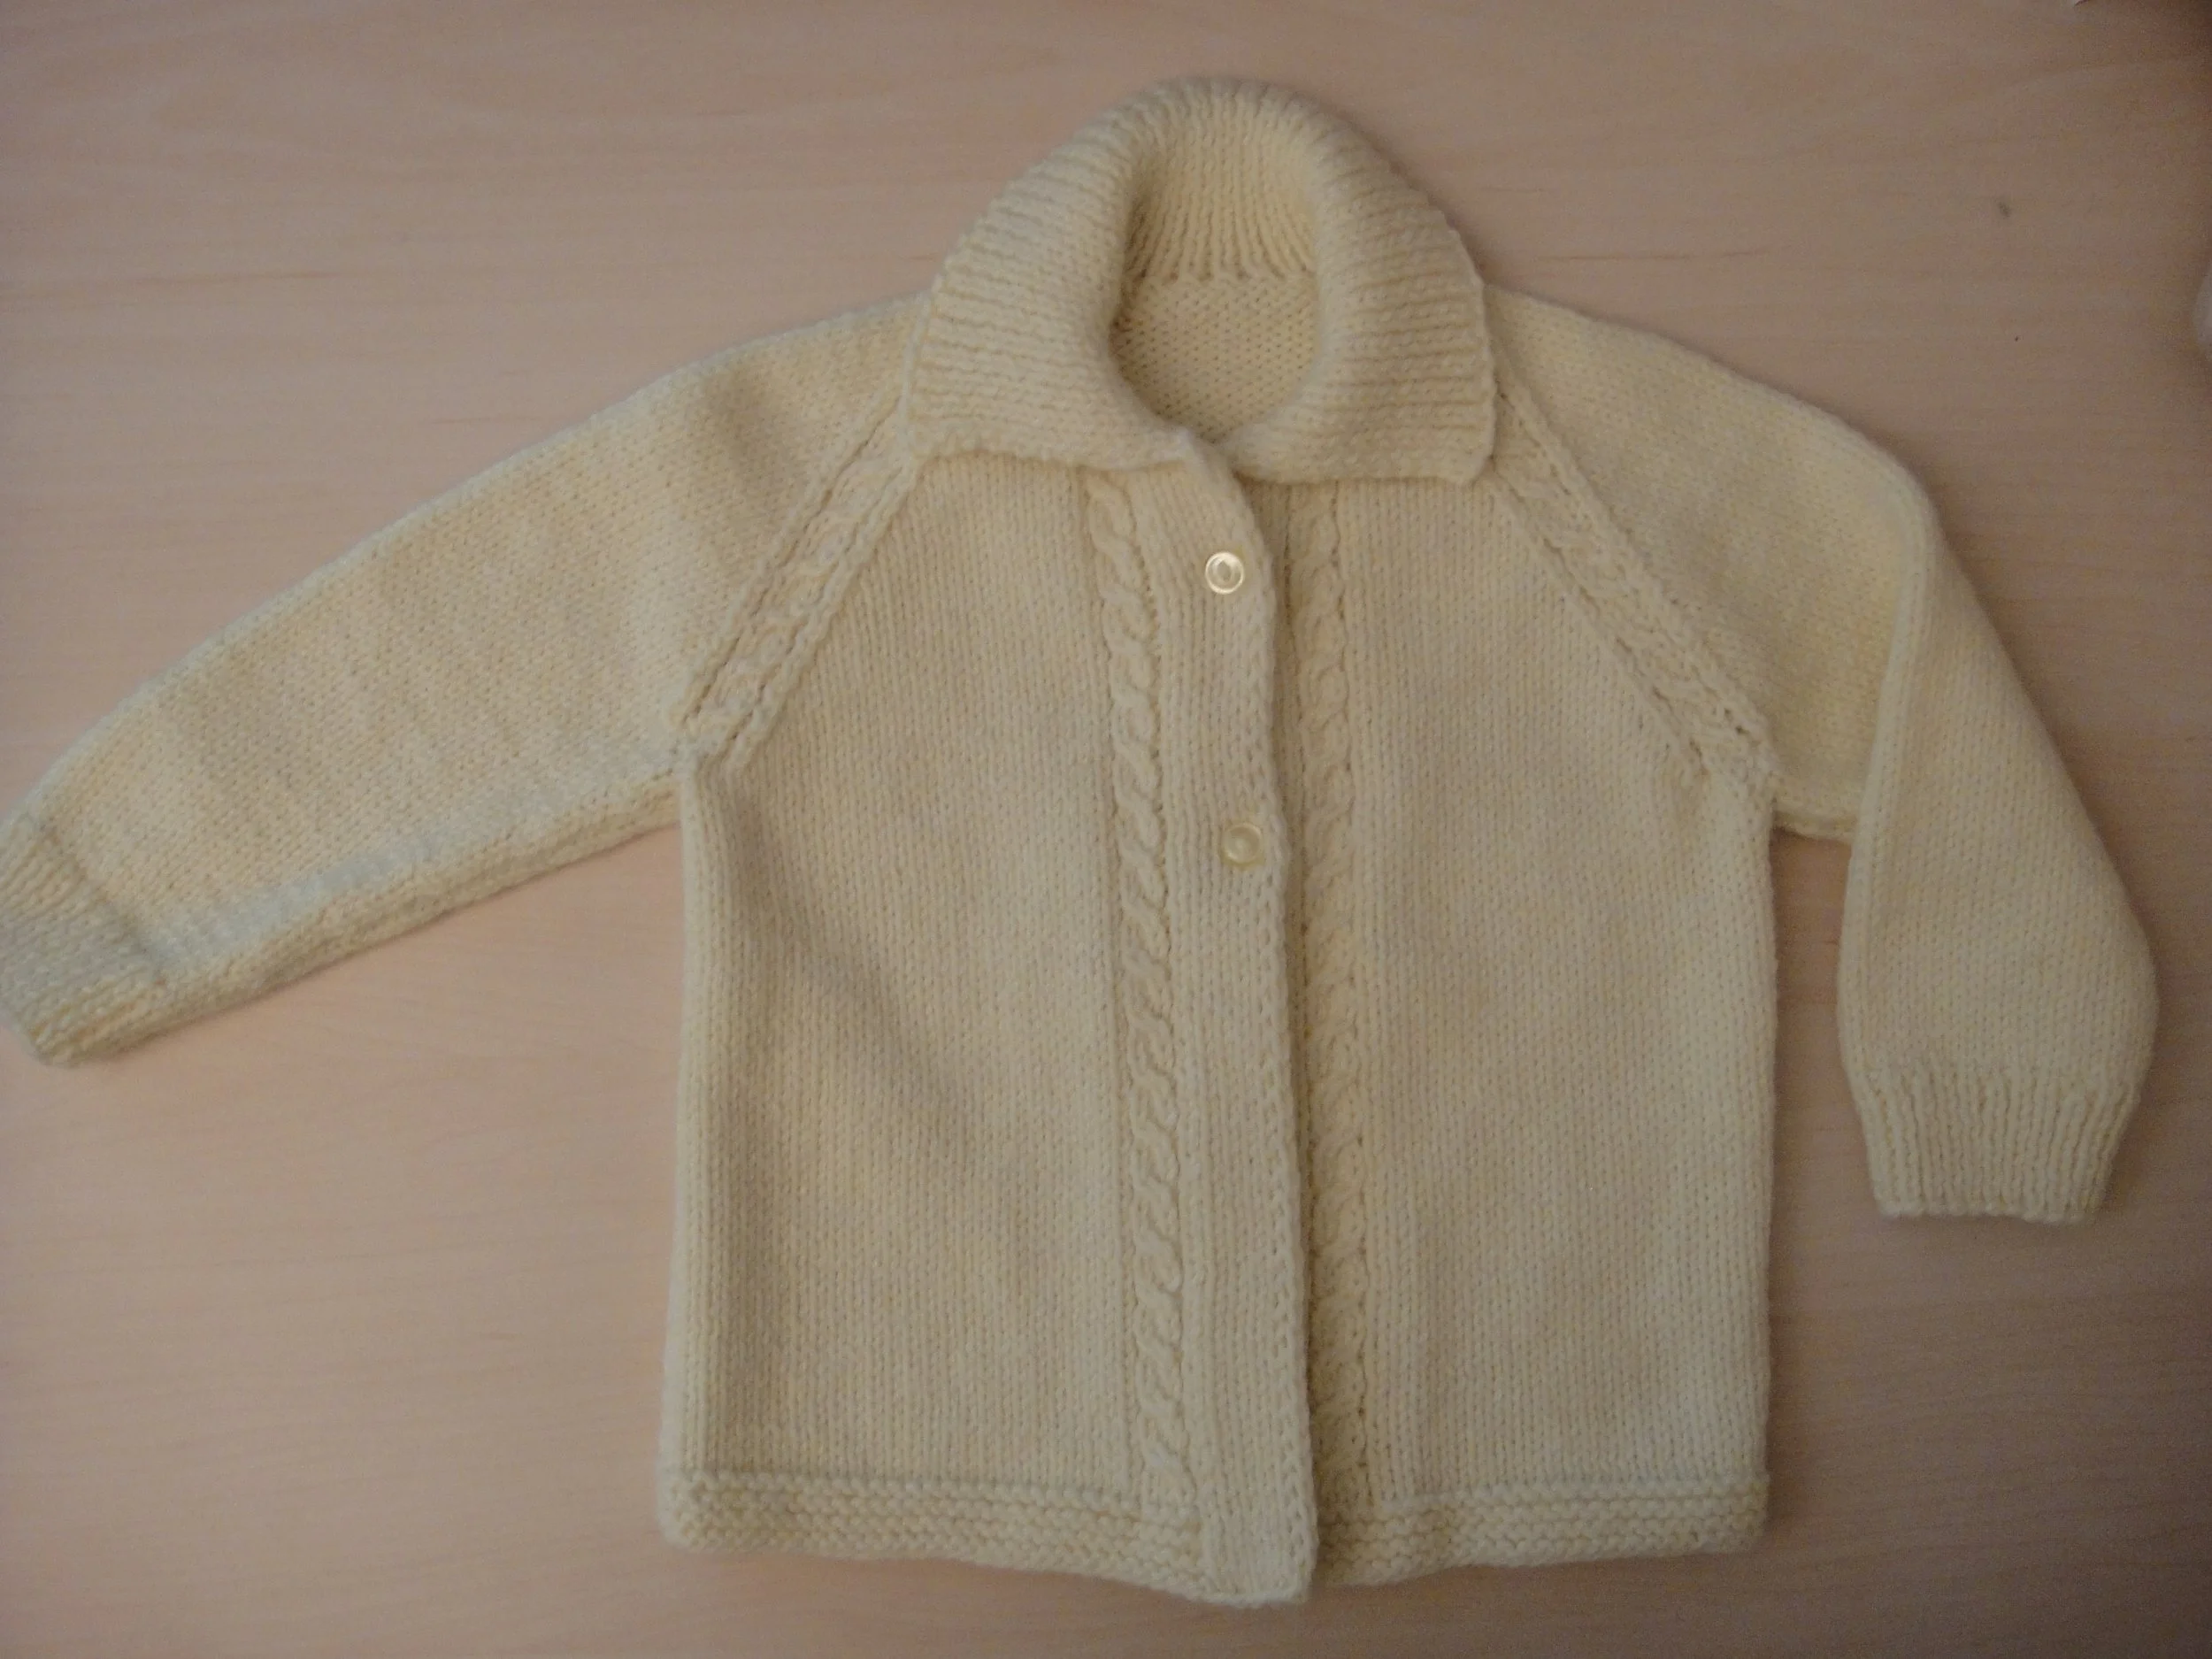
My personal favorite solution here, which evolved from using this band on baby garments, is to substitute snaps for buttons. This way you simply make two plain stockinette bands and attach the snaps once you’ve seamed them. You can add buttons to the outside if you like the look of them but I maintain that snaps on children’s clothes save both the knitter and the parent dressing the child a fair bit of fiddly hand motions. Just make sure to buy good quality snaps and to test them out as you sew them down to make sure they are not sewn too tightly thus pulling them into the wool and making them more difficult to fasten.
Stay tuned for the next installment of Exquisite Buttonbands: The Holy Grail!


